There has been a bit of an increased need for sod due to some of the projects that we are encountering on the golf course. All of our sod has been coming off of the back of the driving range, so we decided that we would renovate the existing site where the green nursery used to be and utilize it again. This area is next to the soccer and event field and has recently been taken over by weeds. It was not ever properly irrigated so we connected a valve from a lateral line that was irrigating the soccer field and used that to surround the new nursery. By using leftover 1" PVC and Rain Bird 700 and 750 heads we were able to properly set up our nursery irrigation. After the irrigation was installed the main goal was to eliminate all of the weeds and add new sand. Drainage was already in place. We are currently in the stage of grading out the surface and will soon be adding seed. This will help fill our need for extra sod, especially on the putting greens.
Here is a look at our only bunker on hole #6. It is very similar in size to our first renovated bunker on hole #2. These photos show a better example of just how good the brand new sand looks after the project is near completion. You can also see from these pictures how we utilize our Dakota TurfTender 440. It is pulled by our New Holland tractor and makes the job very easy for loading sand into the bunkers. Once the sand is loaded into piles in the bunker, there are 4 or 5 guys who spread it evenly by using flat-head shovels and bunker rakes.
Greens aerification! The most important time of the year. I will let the pictures do most of the talking because they make it very easy to see the process that we use. One main thing that I had never experienced before was the use of push brooms. I have always been familiar with using a cocoa mat pulled behind a small cart. I loved using the push brooms due to the fact that every single hole is completely filled and the detail involved is much greater than using anything else. It is very important to have the man-power to use this technique. For this process we have all hands on deck and can knock out half of the golf course in one day. The process consists of the following: punching the greens with 3 Toro Pro Core aerifiers using .500 tines, shoveling and hauling away plugs, hand-watering the holes to open them up for kiln-dried sand, unloading sand on the green, filling each hole in by hand, dragging the excess sand into the turf canopy, applying amendments, and finally adding hydration. On this particular process, we applied a nitrogen/phosphorous product and Endo-roots to promote plant and root growth and help the holes in the greens fill up as soon as possible. The end result is always very clean and tidy due to the attention and detail we practice.
Here are some beautiful pictures from our biggest member tournament of the year. The golf course is glowing due to the timely fertilizer applications and precise watering. Enjoy!
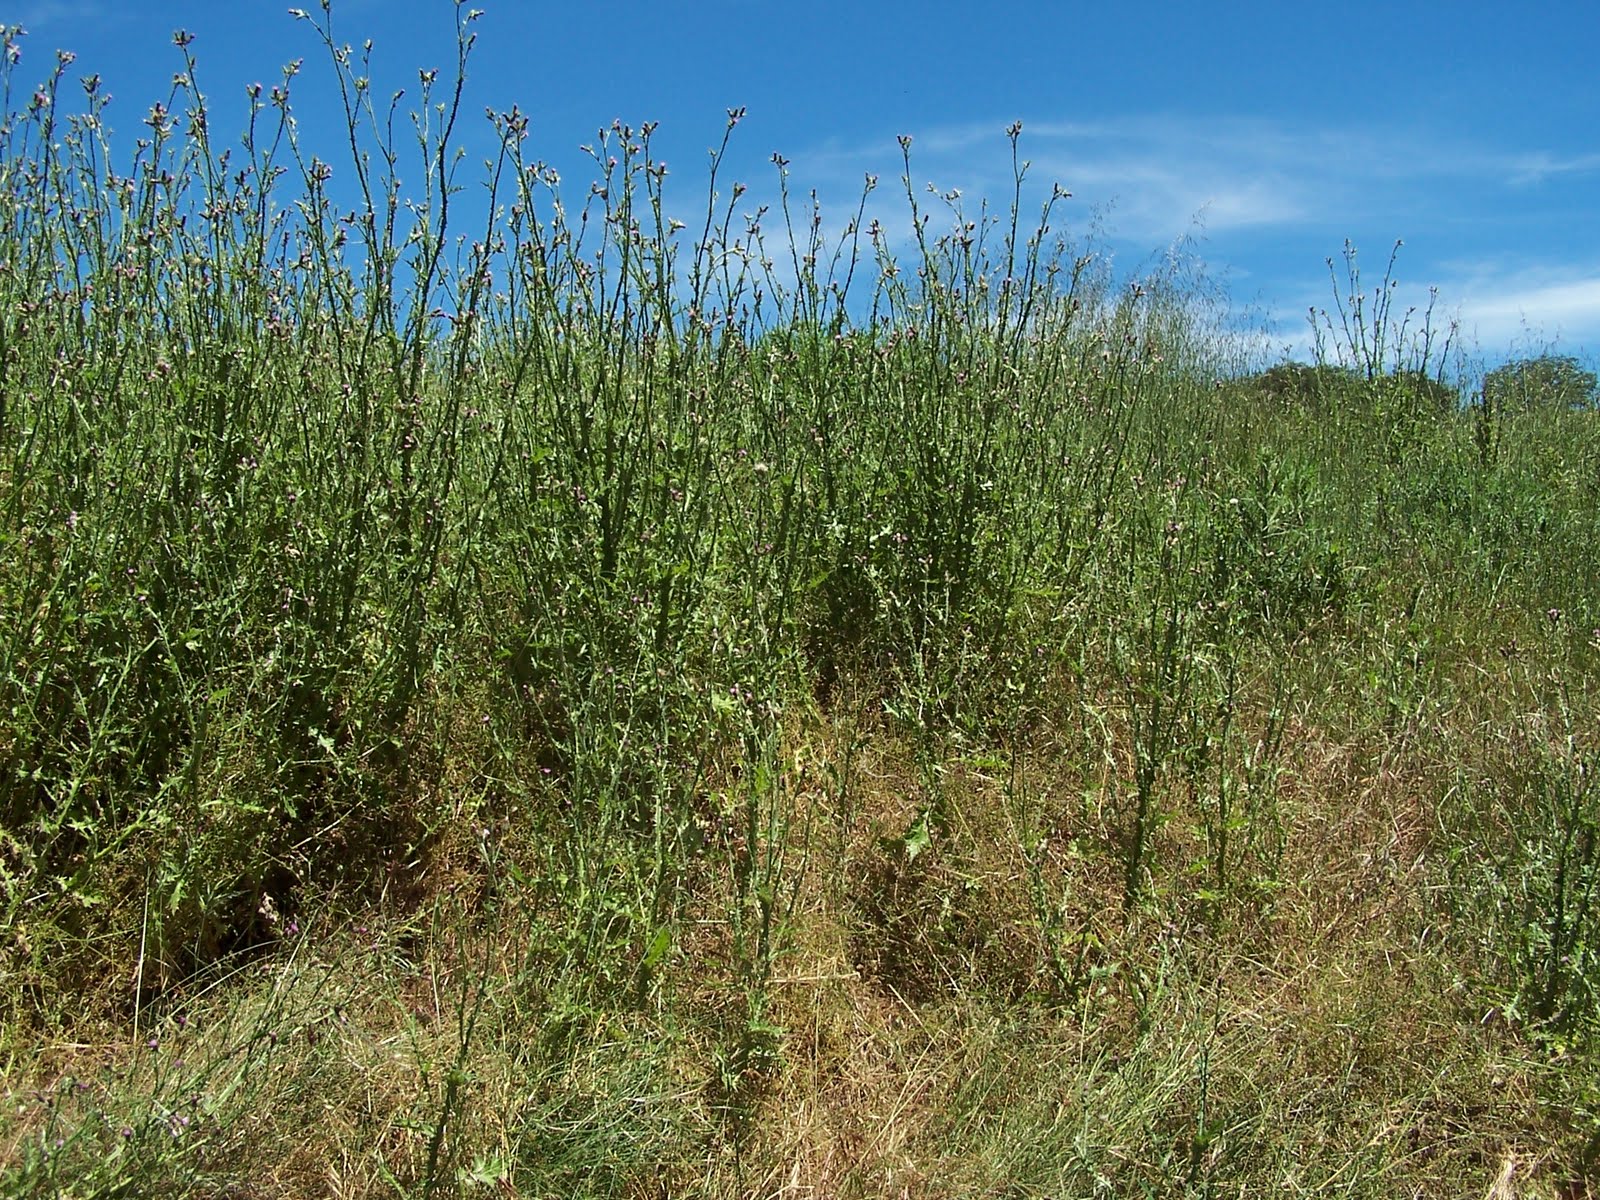
During our big member tournament, the crew members were kept away from the golf course so that the players could enjoy their round without interruption. An ongoing problem throughout the summer has been our vigorous thistle growth around the native areas. One area that had gotten really bad was our driving range. 14 of us took machetes and pitchforks and began hacking them down after lunch. You can see from these three pictures that the machetes worked very well. It did not take long for the 14 of us to cut down the large groups of thistle and haul them to our green-waste dump area. The driving range looked great after we were finished.
This greenside bunker lip on hole 4 was destroyed by burrowing gophers. There were about 7-8 holes within a foot of the bunker lip between it and the green. We had no other choice but to take a half moon shovel and re-edge the bunker beyond the gopher holes. This widened out the bunker by about a foot but as you can see from the picture, it made a world of difference. When we were making our cut, we scraped back some of the sand to eliminate the possibility of contamination. The excess dirt and sod was scooped onto the tarp and loaded in the back of our cart. After we had a nice smooth edge, the sand was pushed back up towards the bunker lip, and the holes from the gophers were no longer there.
While mowing the approaches, the tri-plex suffered a small gasoline leak on #15 approach. The gasoline turned the affected turf yellow. Once these spots were noticed, we began the repair. The affected areas were small enough to cut out with a sod knife and removed. We then removed sod from a low traffic area on #13 fairway to replace the removed patches on #15. Finally, we knitted in the patches and the approach was gasoline free.
Just before tournament time, some spots of fairy ring appeared on #2 green. The reason for these spots were because of light nutrient deficiencies. One application of Nitrogen would have resolved this problem, but we only had two or three days before our tournament. The Nitrogen application would take a bit longer to kick in. The alternative to a Nitrogen application was to take the cup cutter and square plug cutter and replace the fairy ring spots with fresh turf. This is what we did. Unfortunately, I was unable to take pictures. With four or five spots affected by fairy ring, we cut the spots out and replaced them with turf from the driving range putting green. We filled the holes on the putting green and applied bentgrass seed. The patches on #2 green were knitted in and the green was ready for the tournament.
We decided that our first set of bunkers to renovate would be all of the par 3's. This included numbers 2, 6, 14, and 16. We started with number 2 first. It is one of the smaller bunkers on the golf course and was a good place to start and test our strategy. As you can see in the pictures, the liner was laid out and stapled with larger spacing in the bottom of the bunker, and smaller spacing near the lip of the bunker leaving 3"-4" of open soil showing. The project overall went very smooth and turned out just as we planned. Our next bunker will be number 6.